Cummins ISX15 oil leak returns after repair: what to document before follow-up diagnostics
Specialized Truck Services
Cummins ISX15 oil leak returns after repair: what to document before follow-up diagnostics
An oil spot after Cummins ISX15 work deserves attention, but its location on the ground does not identify the leaking component. Oil can travel along a cover, hose, frame rail, or underbody surface before it drips. A fresh leak, oil left from the earlier repair, and a separate leak may look similar from a distance.
The useful next step is a clear comparison between the first complaint and the condition you see now. Record what was repaired, what was verified at delivery, and exactly when the new evidence appeared. SAAT Repairs Corp provides mobile diagnostics and truck repair in Tampa, Lakeland, and nearby Florida areas; the information below helps prepare a follow-up request.
First confirm what changed after the repair
Compare the original complaint with the new observation
Was the first complaint a slow seep, an active drip, oil on an engine surface, or oil collecting beneath the truck? Note where it was first noticed and whether the engine was cold, idling, or recently driven. Compare that with the new observation, including any change in amount or location.
Avoid describing the condition only as “the same leak.” The earlier and current stains may be close together without sharing a cause. If you have safe photographs from before the repair, keep them with current images for comparison.
Read the repair order before naming a failed part
The prior order should show the reported complaint, the area inspected, the finding that supported the repair, the work actually completed, and the verification performed afterward. It may also identify a recommendation that was deferred or an area that could not be confirmed.
If the order says “front gear housing area,” do not translate that into a confirmed failed gasket or seal unless the technician documented it. Ask what was cleaned and how the engine was checked after the repair. A clean starting point makes a returning trace easier to locate.
Build a short recurrence timeline
Location, amount, and operating conditions
Record the date, odometer, engine hours when available, and approximate operating time since the repair. Note where the vehicle was parked and whether the surface was level. Describe whether oil appeared after sitting overnight, after idle, after a loaded trip, or only with the engine running.
If it is safe to inspect from outside the vehicle, photograph the spot and the visible engine area without reaching around moving or hot components. Place a familiar object nearby for scale only when that can be done safely. Do not clean the suspected area before the technician sees it unless safety requires action; a photograph taken before cleaning preserves the pattern.
Oil level, warnings, and other symptoms
Record the oil level using the vehicle or engine maker's instructions, including the conditions under which it was checked. Preserve dashboard messages, fault codes, low-oil-pressure indications, unusual noise, smoke, or a change in engine operation. Do not assume the amount on the pavement equals the total oil lost.
Cummins' guide for on-highway heavy-duty engines distinguishes a check-engine indication from a red stop-engine warning. A red stop-engine warning calls for stopping as soon as it is safe to do so. Follow the applicable vehicle and engine instructions for the particular unit rather than using a general blog post to decide whether it can continue. See the Cummins engine lamp identification guide: Cummins%20Driver%20Lamp%20Identification%20Card%204971518.pdf.
Why the visible drip may not identify its source
Oil moves with gravity and airflow. A drip below the front of an ISX15 could come from an area above or beside the place where it lands. Fresh oil can also collect where older residue remained after a repair. A technician may need to inspect a cleaned, accessible engine, review the previous repair scope, and trace the source under appropriate conditions.
The goal is to locate and verify the present condition before another component is authorized. A repeat symptom alone does not establish whether the previous repair was incomplete, a second defect developed, or residue was left behind.
What to send before the follow-up visit
Share one concise record with maintenance, dispatch, and the service provider:
Truck year, make, model, VIN or unit number, and Cummins engine identification if available.
Exact location and safe access information.
Earlier repair order, date, odometer, findings, completed work, and verification notes.
When the new stain appeared and how much operating time passed after the repair.
Photos of the new spot and visible area taken safely; earlier photos if available.
Oil-level observations, dashboard warnings, codes, noise, smoke, or change in operation.
Whether any oil was added and how much was recorded.
Current load, route, and whether the vehicle is parked or operating.
This record helps a qualified technician plan a focused inspection. It does not replace the physical diagnostic process or guarantee that the repair can be completed at the truck's location.
When to stop and request help
If a stop-engine warning appears, oil pressure is abnormal, oil loss is substantial, or the truck shows unusual mechanical noise, stop in a safe location and follow the manufacturer's instructions. Avoid repeatedly running the engine to “see if the leak comes back.” If the truck is roadside, prioritize a safe location and the required warning procedures before inspecting it.
The decision to move a particular vehicle depends on its actual condition and the applicable engine and vehicle instructions. A photograph or a general checklist cannot make that decision for you.
How SAAT can help
SAAT Repairs Corp offers mobile truck diagnostics and repair 24/7 in Tampa, Lakeland, and nearby areas. When requesting follow-up help, send the prior work order, new timeline, warning information, safe location, and clear photos. Access, safety, test results, parts, and the confirmed scope determine what can be done on site.
Oil appearing again after Cummins ISX15 work? Contact SAAT Repairs Corp with the earlier repair order, new photos, oil-level and warning information, and the truck's location to prepare a follow-up diagnostic visit.
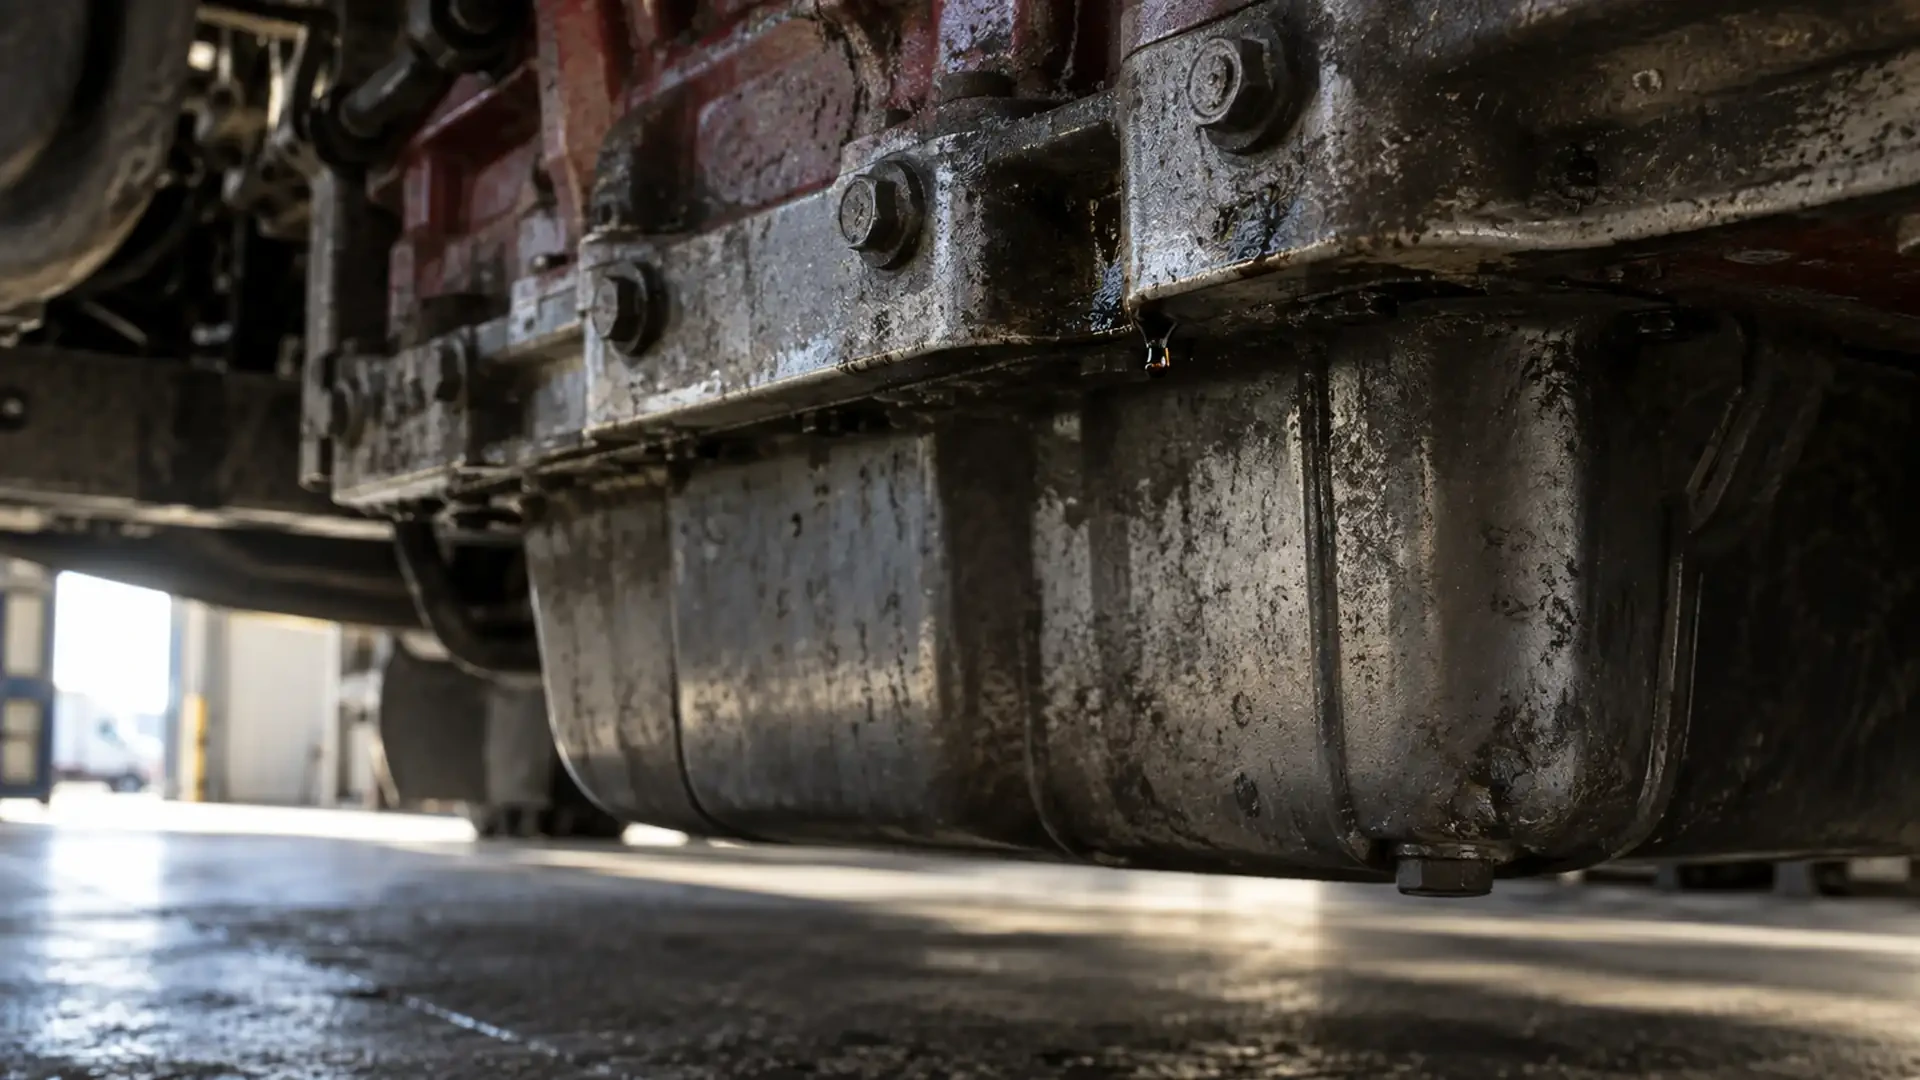
Specialized Truck Services
Cummins ISX15 oil leak returns after repair: what to document before follow-up diagnostics
Did an oil leak return after Cummins ISX15 repair? Record where and when it appears, prior work, fluid level, warnings, and operating conditions before mobile diagnostics.
Sep 28, 2026
Specialized Truck Services
Commercial truck tire replacement: when to remove a tire from service
Learn when truck tire damage, tread depth, air loss, or irregular wear requires inspection or replacement and what to document before mobile service.
Sep 25, 2026
Specialized Truck Services
Detroit DD15 water pump warning signs: what to document before mobile service
Seeing coolant loss or overheating on a Detroit DD15? Learn what to document before mobile diagnostics and why the water pump should be confirmed, not guessed.
Sep 21, 2026
